Thursday, May 9, 2013

Elefante


I recently finished my junior year of college and am officially a senior (woowoo!!). I drove home as soon as my last final was over last week and as per usual I am the first of my friends to finish and come home so I spent the past few days basking in the fact that I had no obligations, appointments, homework or need to get out and do stuff. I've had my eye on the ravelry pattern "Elefante" for quite some time and have been waiting till I had a good chunk of time to dedicate to the pattern.


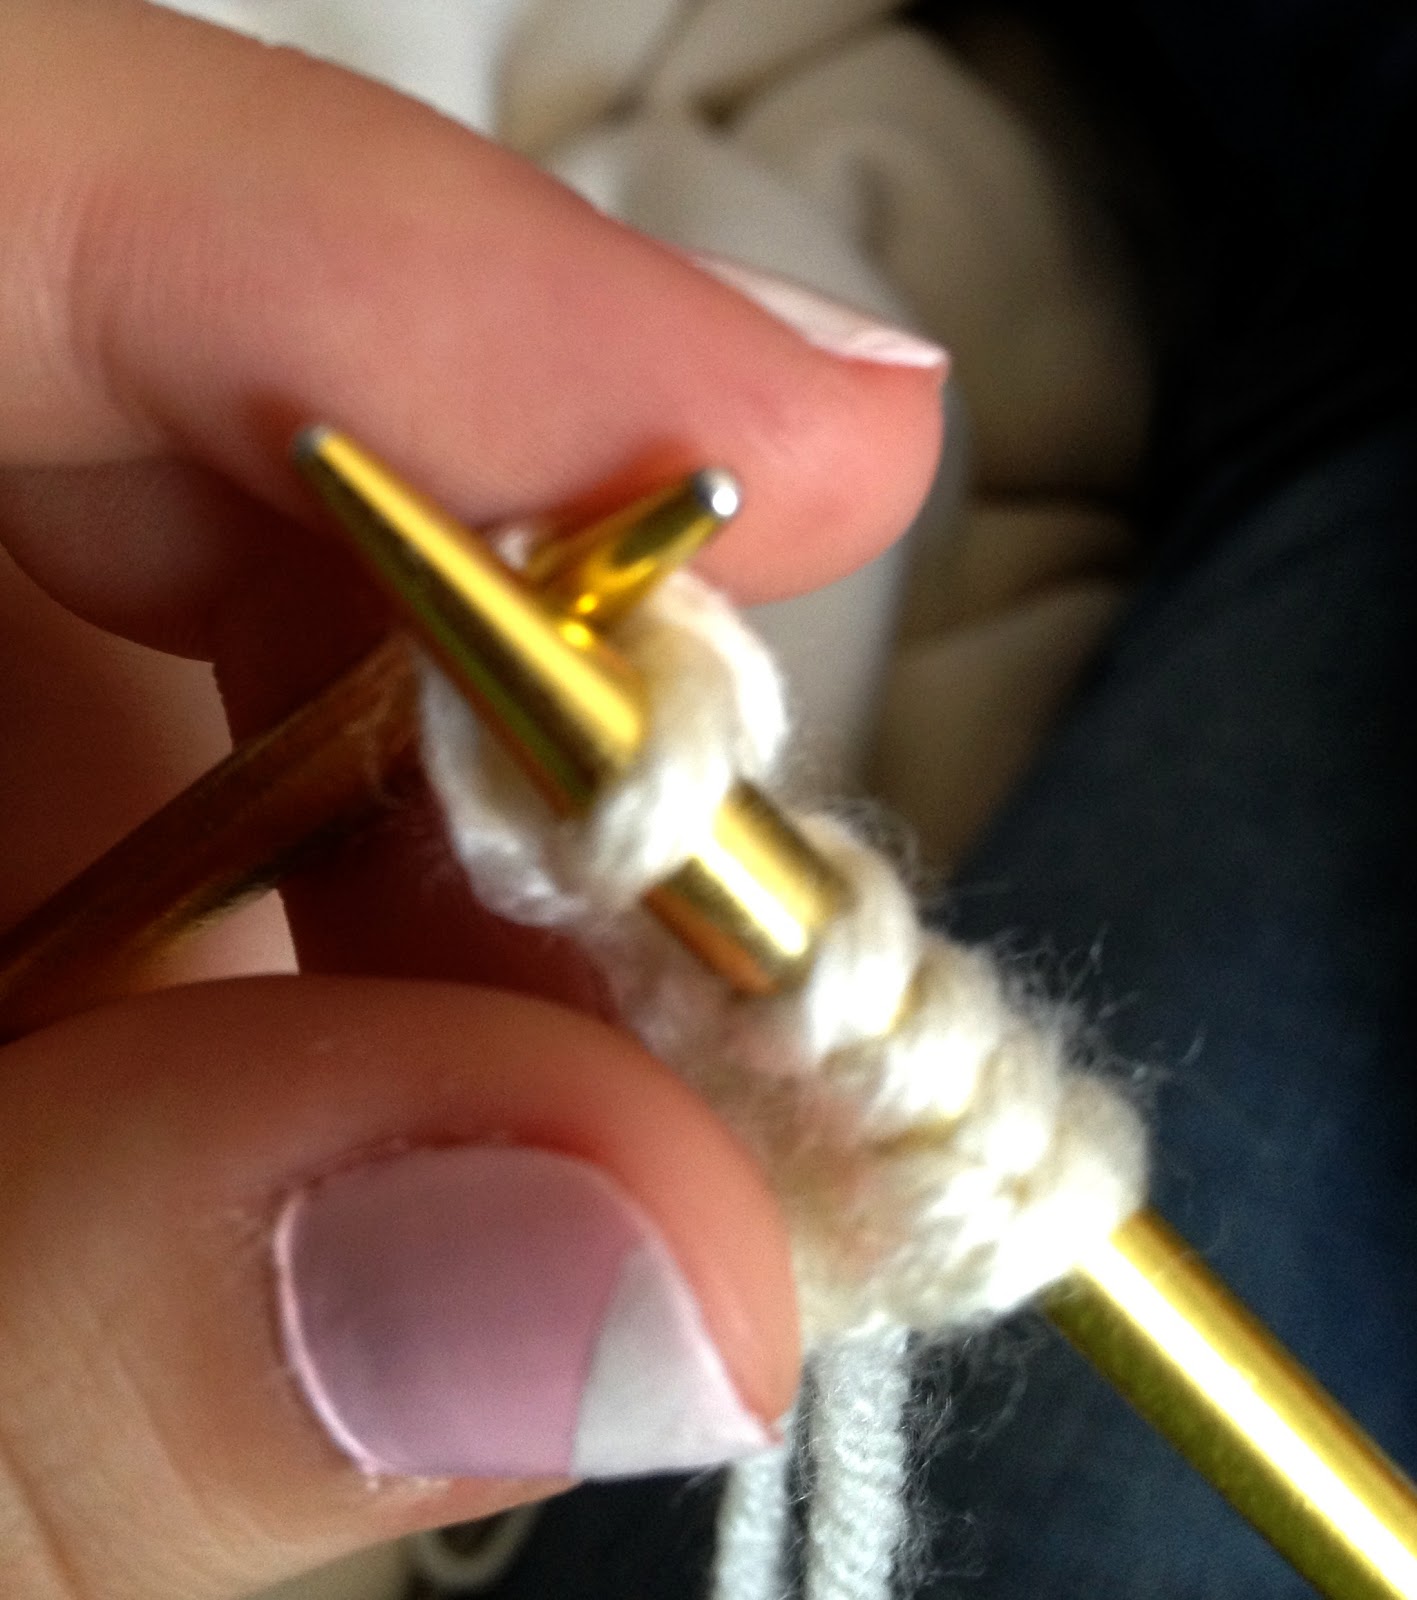
First step was making the 4 legs.


I then knitted the body, which took more time than expected, and stuffed it.
Then I  sewed the stuffed legs to the body.


This was a great project for spare yarn-- I used only scrap pieces and stash yarn!


Instagram photo shoot for this little cutie.

This was my first knitted stuffed animal and I'm super happy with how it came out. If I could redo this, I would use poly-pellets as well as stuffing in the legs and body instead of just stuffing in the entire thing-- because the head is a little bigger than the body it makes it hard for Elefante to stand up straight without falling over or resting on something. I'd recommend this for everyone-- it would make a great baby shower gift, or just a cute addition to anyone's room! 

Any suggestions for other stuffed animals/amigurumis? Let me know!! :)


Thursday, April 25, 2013

How to Bind Off (Traditionally)

Back to Basics :: Day Seven

Since today is the last installment in my Back to Basics series I thought it was only right to end with a bind off tutorial. This is the basics of the basics, something every knitter needs to know how to do (unless you want to wear a scarf with a needle attached to your neck). There are many different ways of binding off, this is just one version.

To start your bind off row, knit two stitches onto your needle. 

Use your left needle to pick up the first stitch on your
right needle and bring it over the needle...

...like this.

You are now left with one stitch on your right
needle, and one stitch is bound off.

Next, knit one stitch so you again have two stitches on your right needle. Repeat the carry-over process. Continue this all the way down the row until only one stitch remains on your right needle (and none  on your left). When one stitch is left, cut your yarn leaving a 3-4" tail and pull your needle away from the piece (this motion will automatically tie the tail). Next weave in ends. You're DONE! 

And as for this cute little nub, I think it'll make a great bookmark...


How to KFB and SSK

Back to Basics :: Day Six

Unfortunately I wasn't able to keep up with my goal of one post a day, final exams are next week and I've been really busy with school work. BUTTTT to make up for it, I'll be posting twice today :) Most basic patterns usually call for knitting and purling, but as you start taking on more difficult patterns, many will call for increases and decreases. Today I've decided to explain two techniques that I found very hard at first to do. One is the knit front and back (KFB) which is an increase stitch, the other is the slip slip knit (SSK) which is a decrease. A lot of the time patterns will call for easier methods such as yarn over and knit two together, but I've decided to post photo instructions on two methods that aren't always well explained.

Increase Method: KFB

Note: you only need one stitch to work this increase.

Start by knitting into the stitch.

Instead of slipping the stitch onto the right needle and off
the left needle like usual,  keep the stitch on both needles.

Being careful not to let the stitch off your needle, knit into the same stitch on
your left needle again but on the backside of the stitch.

Knit that stitch and then slide the 2 new stitches onto your right needle.
You have now increased from 1 to 2 stitches!


Decrease Method: SSK

Note: you will need to work with two stitches for this decrease.

Slip one stitch off your left needle purlwise to the right needle.

Slip the next stitch just like the previous.


Insert your left needle downward into the two stitches you just slipped.

Wrap your yarn around the right needle and knit the two stitches together.
You now have one stitch!

SSK and KFB can be two intimidating methods, the letters alone make it sound complex but if you take your time and think about what you're doing I promise this is a sure way to increase and decrease your stitch counts!


Tuesday, April 23, 2013

How to Knit the (Double Yarn) Seed Stitch

Back to Basics :: Day Five

For today, I will be demonstrating the seed stitch, knit with two yarns at once. Knitting with two yarns at once is totally optional, I just like how the white and purple contrast each other for the little knots the stitch creates.

Tip: New to knitting with multiple yarns? When knitting with two yarns at once, hold both colors together and treat them as one string.

To start, cast on any even number of stitches (if you are knitting with two yarns, just hold them together as you cast on so they both are placed on the needle).

I casted on 16 stitches. Use any even number.

Row 1: *K, P*

Start the row by knitting one.


After knitting one, purl one. 

Row 2: *P, K*

Simply repeat these two rows for the entire length of your piece. 

After a couple rows it will start to look like this....


Tip: Put down your needles mid-row and can't remember which stitch is next? Look at the next stitch on your left needle, if there is a bump on the look, KNIT; if there is no immediate bump, PURL (note this is opposite of usual knitting rules).

This pattern creates a great thick piece that's full of texture. I'd recommend this if you're making a washcloth or scrubby pad. 

This pattern creates lots of little "seed" bumps.


Monday, April 22, 2013

How to Add a Cable to Your Knitting

Back to Basics :: Day Four

Adding cablework to your knitting is a great way to accent a piece or make an otherwise plain-jane stitch look elegant and complicated. For this demonstration, you will need yarn, needles and a cable needle. Cable needles come in several sizes and can be bought from JoAnn, AC Moore, Walmart, etc for less than $4. If you have a double pointed needle that also works great.

For my sample, I will be working on a reverse stockinette background (the "wrong" side of stockinette) because I think it accents the the cable well.

I casted on 24 stitches.

Row 1-2: K


Row 3: K2, P5, K10, P5, K2

Row 4: K2, K5, P10, K5, K2

Row 5: K2, P5, C10F, P5, K2
Transfer 5 stitches onto cable needle, pull forward.

Knit 5 stitches from working needle while holding cable needle forward.


NOTE: C10F= transfer 5 stitches purlwise onto the cable needle, move the cable needle forward, continue to knit 5 stitches from working needle, then knit the 5 stitches on the cable needle

Row 6: K2, K5, P10, K5, K2

Row 7: K2, P5, K10, P5, K2

Row 8: K2, K5, P10, K5, K2

Row 9: K2, P5, K10, P5, K2

Row 10: K2, K5, P10, K5, K2

Repeat rows 3-10 for your desired length, and end your piece with 2 extra rows of K to complete the border.  


After a few repeats of the pattern, your piece will look like this....


Enjoy :)


Sunday, April 21, 2013

How to Cast On Using the Long Tail Method


Back to Basics :: Day Three

Getting down to the real (k)nitty-gritty basics of knitting, here are instructions for the long tail cast on. I love this cast on method because it is a never-fail method that can be done very quickly with practice. For new knitters, the motions might seem a bit awkward at first or you may not leave enough of a tail to work with, but just practice-- it will get better (I promise!) This is my favorite go-to for casting on.

Ok, you caught me, I'm using the super cheap
Red Heart yarn... so what?!


Step 1: Make a slip knot.
(Yep, that Girl Scout badge on knot tying is
finally coming in handy!)

NOTE: When creating the slip knot, leave enough yarn at the tail end to use for casting on. An easy way to estimate this is to wrap the tail around your needle 1.5x the number of stitches you need to cast on.

Step 2: Slip the knot onto your needle, pulling to secure it
 (should be tight so there aren't any gaps, but not so
tight that it can't move along the needle).

Step 3: Grab the tail end (end not attached to ball of yarn)
with left hand and wrap around thumb and pointer finger,
holding tail in palm of hand.


Step 4: Lower left hand and angle fingers toward the floor,
swinging needle in right hand under loop in left hand (see arrow.)
So it looks like this...

Step 5: Still keeping left fingers around original loop, grab
working yarn (attached to ball) and wrap clockwise
around needle, passing over original loop.

Step 6: Slide left fingers out of loop and slip the original loop up and
over the needle (and over the new wrap you did in step 5).

Step 7: Pull on tail of yarn until the loop is secured around the needle.
Again, there shouldn't be any gaps around the loop and needle, but the casted
 on stitches should be able to easily move on needle. Repeat these 7 steps
until your desired number of stitches


This method for casting on is widely accepted and used, and I use it for all my projects unless otherwise instructed. Enjoy!


Saturday, April 20, 2013

How to Knit the Slip Stitch Rib


Back to Basics :: Day Two

For day 2 of my Back to Basics series I'll be demonstrating the slip stitch rib. For this stitch, you will need to know how to purl, knit, and slip one purlwise (as if you are going to purl but then just slip the stitch).

This pattern calls for multiples of 5+2, I casted on 27 using worsted weight and size 8 needles.


Row 1: P2, *K1, S1P (slip one purlwise), K1, P2*   (repeat between asterisks until end of the row)


Row 1: Purl 2


Row 1: After purling 2 and knitting 1, slip 1 stitch as if to purl
(yarn in front)


Row 2: K2, *P3, K2*

Repeat these two rows until the end of your piece.
After a few rows, your piece will start to look like this....

Right Side
Wrong Side


This stitch pattern is great for cuffs or brims because it creates such a thick, squishy fabric. Personally, I like the "wrong side" of the pattern better than the "right side" and have used the wrong side for several different hat brims. This is a great pattern for beginners to practice slipping stitches and the alternating rows allow for easy memorization.

Need some practice in slipping? Try out this pattern! Stay tuned for tomorrow's next installment in Back to Basics.